How to Measure Openings for Entrance & Pivot Doors: A Complete Step-by-Step Guide
A beautiful aluminium (aluminum) door begins with precise measurements. This guide explains how to measure openings for both entrance (hinged) doors and pivot doors in new construction and replacement scenarios. You’ll learn how to check for square, account for flooring and thresholds, consider pivot offsets, and record accurate dimensions that help ensure smooth operation and weather-tight performance.
Key Terms Explained
- Rough Opening: The unfinished structural opening — stud to stud (width), subfloor to header (height).
- Finished Opening: The visible frame area after plaster, drywall, or cladding is complete.
- Threshold (Sill): The lower frame piece that meets the floor; must be level for smooth door operation.
- Jambs: The vertical sides of the frame supporting hinges and latches.
- Header (Head): The horizontal structural member at the top of the opening.
- Subfloor: The base layer beneath final flooring (concrete, screed, or wood sheathing).
- Tolerance Gap: Clearance of about 10–15 mm (3/8–5/8 in) around the frame to allow shimming and insulation foam.
- Pivot Offset: For pivot doors, the distance from the door edge to the pivot axis; affects clear passage width when open.

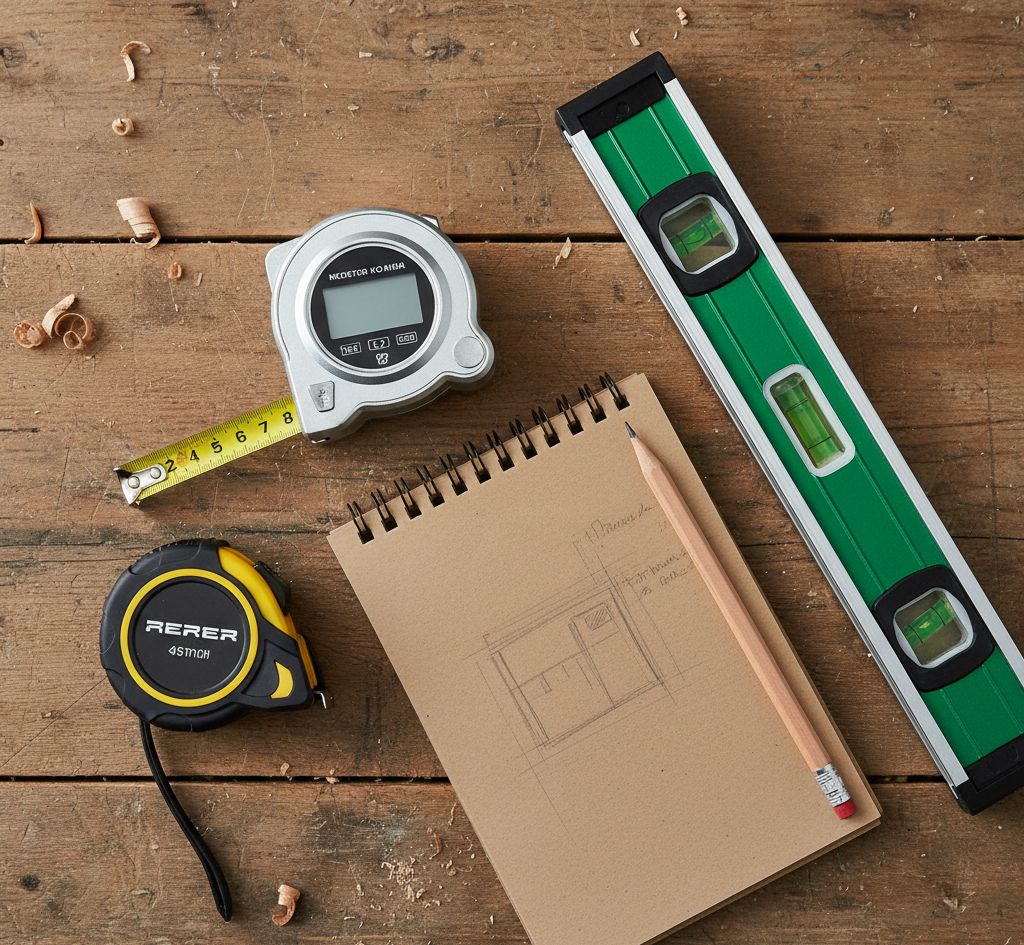
Tools Needed
Tools You’ll Need
- Tape measure (5 m / 16 ft) or laser measurer
- Spirit level or laser level
- Pencil/marker and masking tape
- Notebook or measurement sheet
- Optional: a helper for large openings
Step 1 — Identify Scenario and Door Type
First confirm whether you are measuring a rough opening for a new build/renovation or a finished opening for a replacement. For entrance doors, also confirm swing direction (inward/outward) and hinge side. For pivot doors, decide the pivot offset and which edge is the pivot when viewed from outside.
Step 2 — Measuring Entrance (Hinged) Door Openings
1) Measure the Width
Measure the structural width between left and right jamb studs (or masonry reveals) at the top, middle, and bottom. Record all three values and use the smallest as your basis. For replacements without frame removal, measure inside the existing frame between inner jamb edges.
2) Measure the Height
Measure from the subfloor or concrete base to the underside of the header at left, center, and right. Use the smallest value. If the old threshold is still present, measure beside it down to a solid base rather than the finished flooring. If you plan new flooring, deduct its thickness so the new door clears.
3) Check for Squareness
Measure diagonals from top-left to bottom-right and top-right to bottom-left. If the two measurements differ by more than 6 mm (1/4 in), note it for your installer; minor deviations can be corrected with shims.
4) Verify Level and Plumb
Check the sill for level and the side jambs for plumb. Note the degree and direction of any deviation so installers can shim or adjust as needed.
5) Record and Apply Tolerance
Entrance door frames are typically ordered 10–15 mm smaller than the measured opening to allow space for shimming and insulation foam. Example: smallest width 1000 mm and height 2100 mm → order size about 990 × 2085 mm.
Regional note: In North America, nominal slab sizes (e.g., 36" × 80") have corresponding rough openings (e.g., ~38" × 82½"). In Europe, dimensions are in millimetres with a typical 10–15 mm gap between brickwork and frame.
Want to check your measurements instantly? Try the KozijnenPro Configurator — enter sizes, compare aluminium door models, and see pricing in real time.

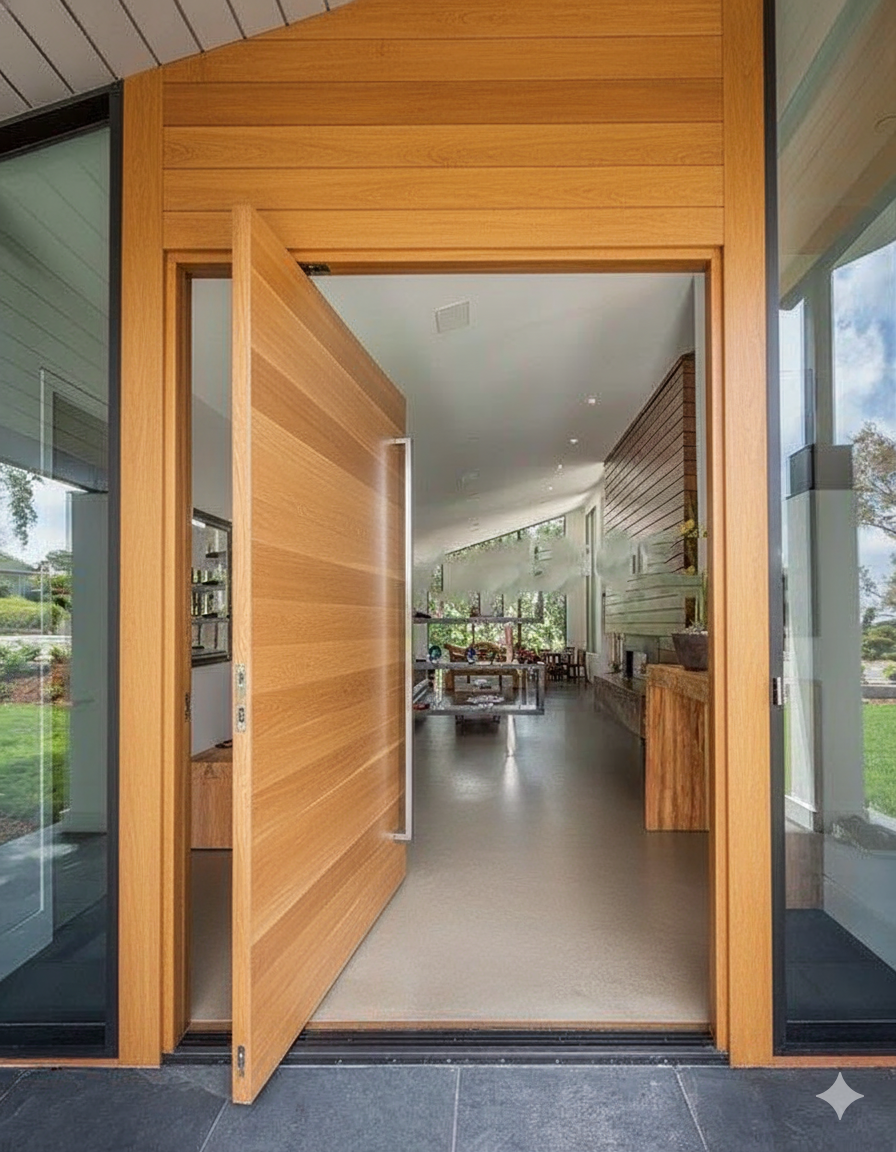
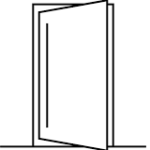
Pivot Door
Step 3 — Measuring Pivot Door Openings
1) Measure the Width
Measure across the opening at the top, middle, and bottom; use the smallest width for ordering. Remember that clear passage when open is reduced by the pivot offset.
2) Measure the Height
Measure from the finished or structural floor (note which you used) to the underside of the header at left, center, and right; use the smallest value. If flooring will be added later, deduct its buildup to maintain proper clearance.
3) Check for Squareness, Level, and Plumb
Measure both diagonals and verify level/plumb. Pivot doors rely on precise alignment of top and bottom pivot points; larger deviations can cause binding or uneven seals.
4) Determine Pivot Offset and Clear Opening
Confirm your intended pivot offset (commonly 150–250 mm from the door edge). Example: a 1200 mm wide door with a 200 mm pivot offset yields roughly 1000 mm of clear passage when open. Plan for accessibility accordingly.
5) Check Floor and Ceiling Conditions
Ensure the floor can receive the bottom pivot box (solid concrete or adequately reinforced substrate) and the header can accept the top pivot hardware without deflection. Avoid installing over uneven tiles or unfinished screed without correction.
6) Record and Apply Tolerance
Pivot door frames are commonly made 10–12 mm smaller than the structural opening. Example: smallest measurements 1200 × 2400 mm → order size about 1188 × 2388 mm.
Explore our Pivot Door options and configure yours at KozijnenPro.nl — adjust size, pivot offset, glass, and finishes in seconds.
Step 4 — Document and Verify
- Record smallest width and height values clearly (room/location + orientation).
- Label whether measurements are rough opening or finished opening.
- Note swing direction and hinge side (entrance) or pivot side/offset (pivot).
- Attach photos for each opening to reduce errors during ordering and installation.
Common Mistakes to Avoid
- Measuring only once instead of three readings across width and height.
- Ignoring diagonal checks for squareness.
- Forgetting floor buildup or threshold height.
- Not specifying swing direction or pivot offset.
- Mixing up opening size with desired frame size when ordering.
Conclusion
Accurate measurements are the foundation of a perfect fit and long-term performance. By following these steps — three measurements per axis, diagonal checks, tolerance, and documented swing/pivot data — you’ll ensure your entrance or pivot door operates smoothly and seals efficiently. KozijnenPro manufactures each door to your specifications for premium alignment, insulation, and durability.
 Select your profile
 Choose your color


 Pivot Doors