How to Measure Openings for Sliding Doors: A Step-by-Step Guide by KozijnenPro
Accurate measurements are the foundation of a flawless aluminium (aluminum) sliding door installation. Whether you’re planning a new build with a lift & slide system or replacing an existing patio door, precise dimensions guarantee a smooth slide, tight seal, and long-term performance. Follow this professional step-by-step guide from KozijnenPro to ensure your measurements are correct the first time.
Understanding Key Terms
- Rough Opening: The unfinished structural opening in the wall, measured stud-to-stud (width) and subfloor to header (height).
- Finished Opening: The visible size once plaster, drywall, or cladding is completed.
- Track (Sill): The bottom rail on which the door panels slide; must be level for smooth operation.
- Head: The top horizontal frame part that supports rollers and guides.
- Interlock: The vertical joining point between sliding panels.
- Drainage Slot: Openings in the lower track that channel water away from the frame.
- Tolerance Gap: The 10–15 mm (3/8–5/8 in) clearance left around the frame for shimming and insulation.

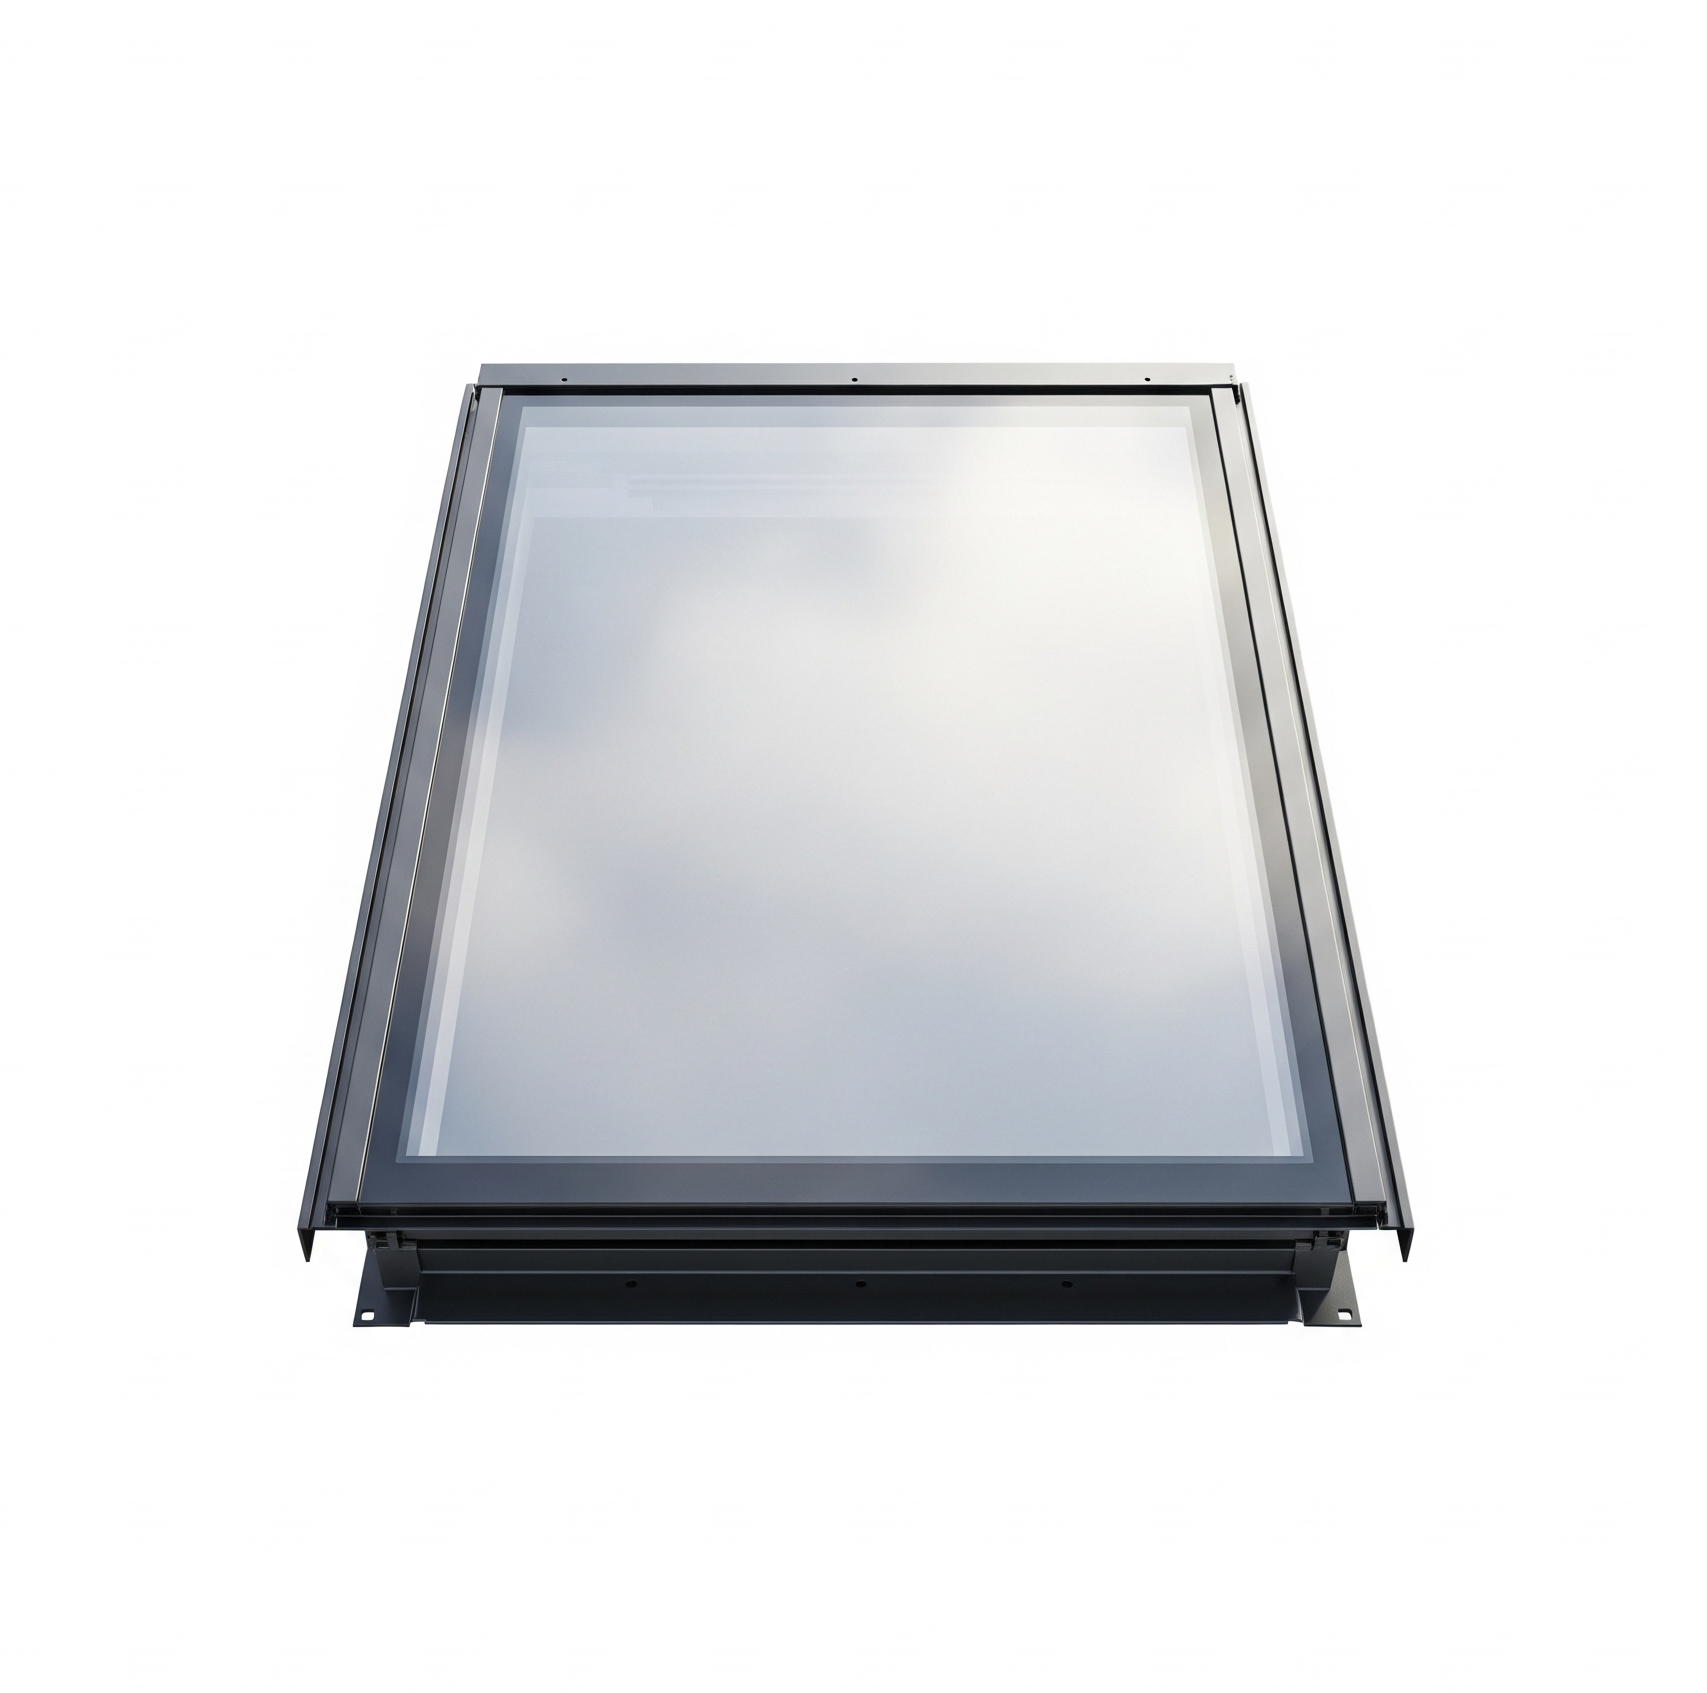
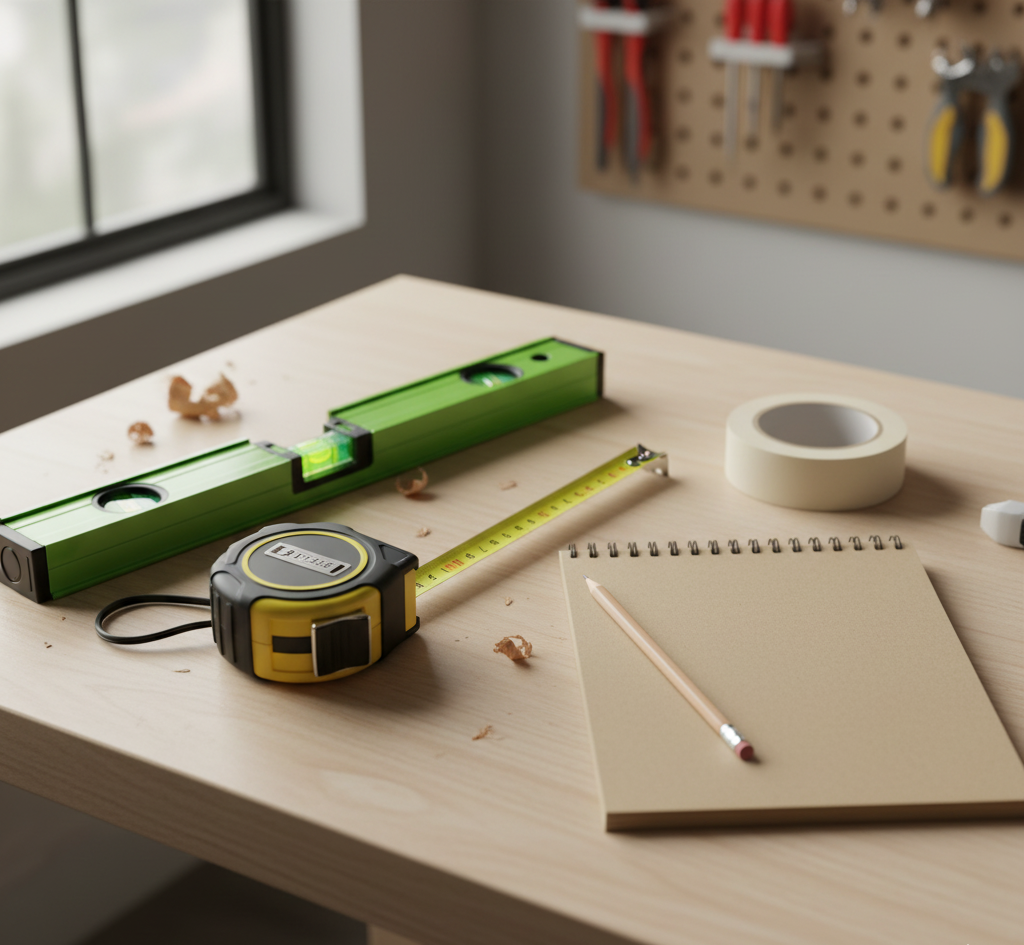
Needed tools shown on a table.
Tools You’ll Need
- Tape measure (5 m / 16 ft) or digital laser measurer
- Spirit level or laser level
- Pencil or masking tape
- Notebook or phone for recording measurements
- Optional: a helper for wide openings
Step 1 — Identify the Door Type and Scenario
First, determine whether you are measuring for a standard sliding door or a lift & slide system. Lift & slide doors require tighter tolerances than sliding doors because of their precision rollers and lift mechanisms. Also note whether the measurement is for new construction (rough opening) or a replacement (finished opening). The method below applies to both, with minor adjustments in tolerance.

Image showing the width of a sliding door opening.
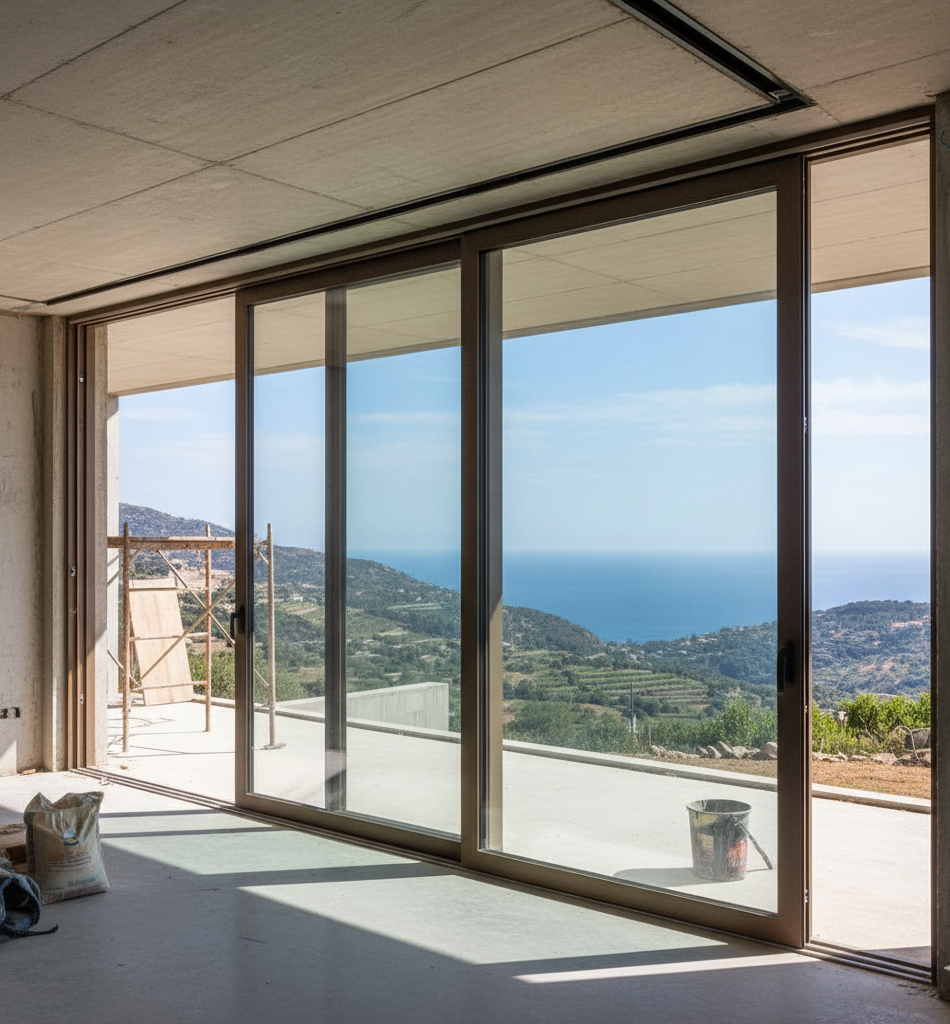
Step 2 — Measure the Width
Measure between the left and right reveals or studs at the top, middle, and bottom of the opening. Write down all three readings and use the smallest as your reference width. If your track area is already installed, measure above the sill line, ensuring you avoid decorative trims or plaster edges. For double-track or triple-track sliding door systems, measure across the entire frame width, not just one panel lane.
Image showing the height of a sliding door opening.
Step 3 — Measure the Height
Measure from the subfloor or track base to the underside of the header at three points — left, center, and right. Use the smallest dimension. If you’re adding flooring (tile, wood, or vinyl), subtract its thickness from the sliding door measurement to maintain proper clearance between sliding door panels and finished floor.
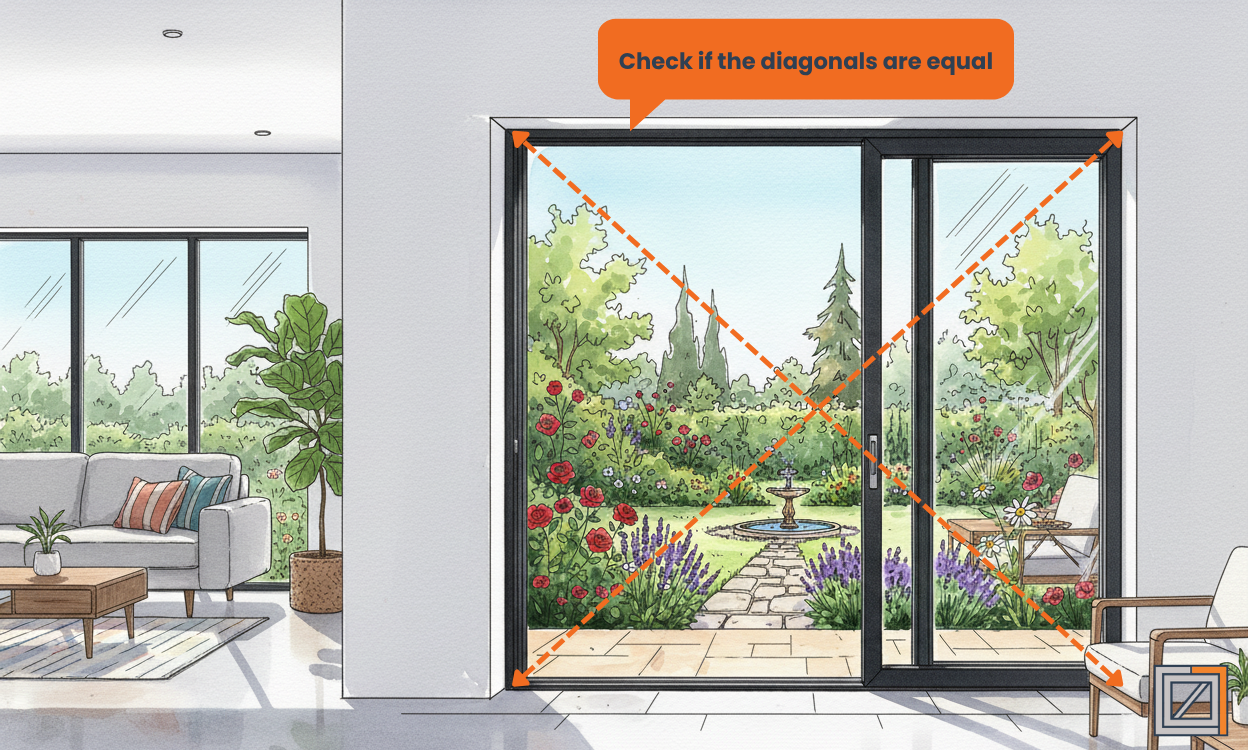
Image showing the diagonals of a sliding door opening.
Step 4 — Check for Squareness
Measure both diagonals of the opening (top-left to bottom-right and top-right to bottom-left). If the difference exceeds 6 mm (1/4 in), the opening isn’t square. Slight differences can be corrected with shims; larger ones should be corrected structurally. A square opening ensures that the sliding door panels align perfectly with the tracks and lock smoothly.
Step 5 — Check Track Levelness and Head Alignment
Use a laser level or long spirit level across the sill track to confirm it is straight and level end-to-end. Check the head (top) for the same alignment. Even a small unevenness can cause sliding panels to drift or rub, especially in lift & slide systems where the rollers must stay parallel. Note any variation — installers can adjust with packers or leveling compound if necessary.
Step 6 — Record and Apply Tolerance
Deduct around 10–15 mm (3/8–5/8 in) from your smallest measured width and height to calculate the manufacturing size. This allows for insulation foam and expansion during temperature changes. Example: measured width 3000 mm × height 2400 mm → order size approximately 2985 × 2385 mm.
Step 7 — Document and Verify
- Record each dimension clearly and label location (e.g., “Living Room Sliding Door – South Façade”).
- Note the sill type (standard, low-profile, flush).
- Confirm number of tracks (2-track, 3-track) and panel direction (left-slide, right-slide, both-way).
- Photograph each opening for installation reference.
Measure once, configure with precision. Enter your dimensions into the KozijnenPro Configurator to design and price your custom aluminium sliding doors instantly.
Common Mistakes to Avoid
- Measuring from finished plaster or decorative edges instead of structural surfaces.
- Ignoring track levelness — even minor slopes affect roller alignment.
- Forgetting to deduct floor finish thickness.
- Failing to confirm drainage allowance under the sill.
- Providing frame size instead of rough opening size when ordering.
Regional Notes
In Europe, sliding doors are measured in millimetres with 10–15 mm tolerance gaps. In North America, sliding doors are often advertised in nominal inches (e.g., 108" × 94"), with the rough opening slightly larger than the frame.
Conclusion
By following this guide, you’ll obtain precise measurements for your aluminium sliding or lift & slide door system — ensuring smooth operation, proper sealing, and effortless installation. At KozijnenPro, every sliding door is engineered to your measurements using advanced manufacturing technology for accuracy, durability, and energy efficiency.
 Select your profile
 Choose your color


 Pivot Doors